DSCI 522 Lecture 4
Data Validation with Pandera
Sky Sheng
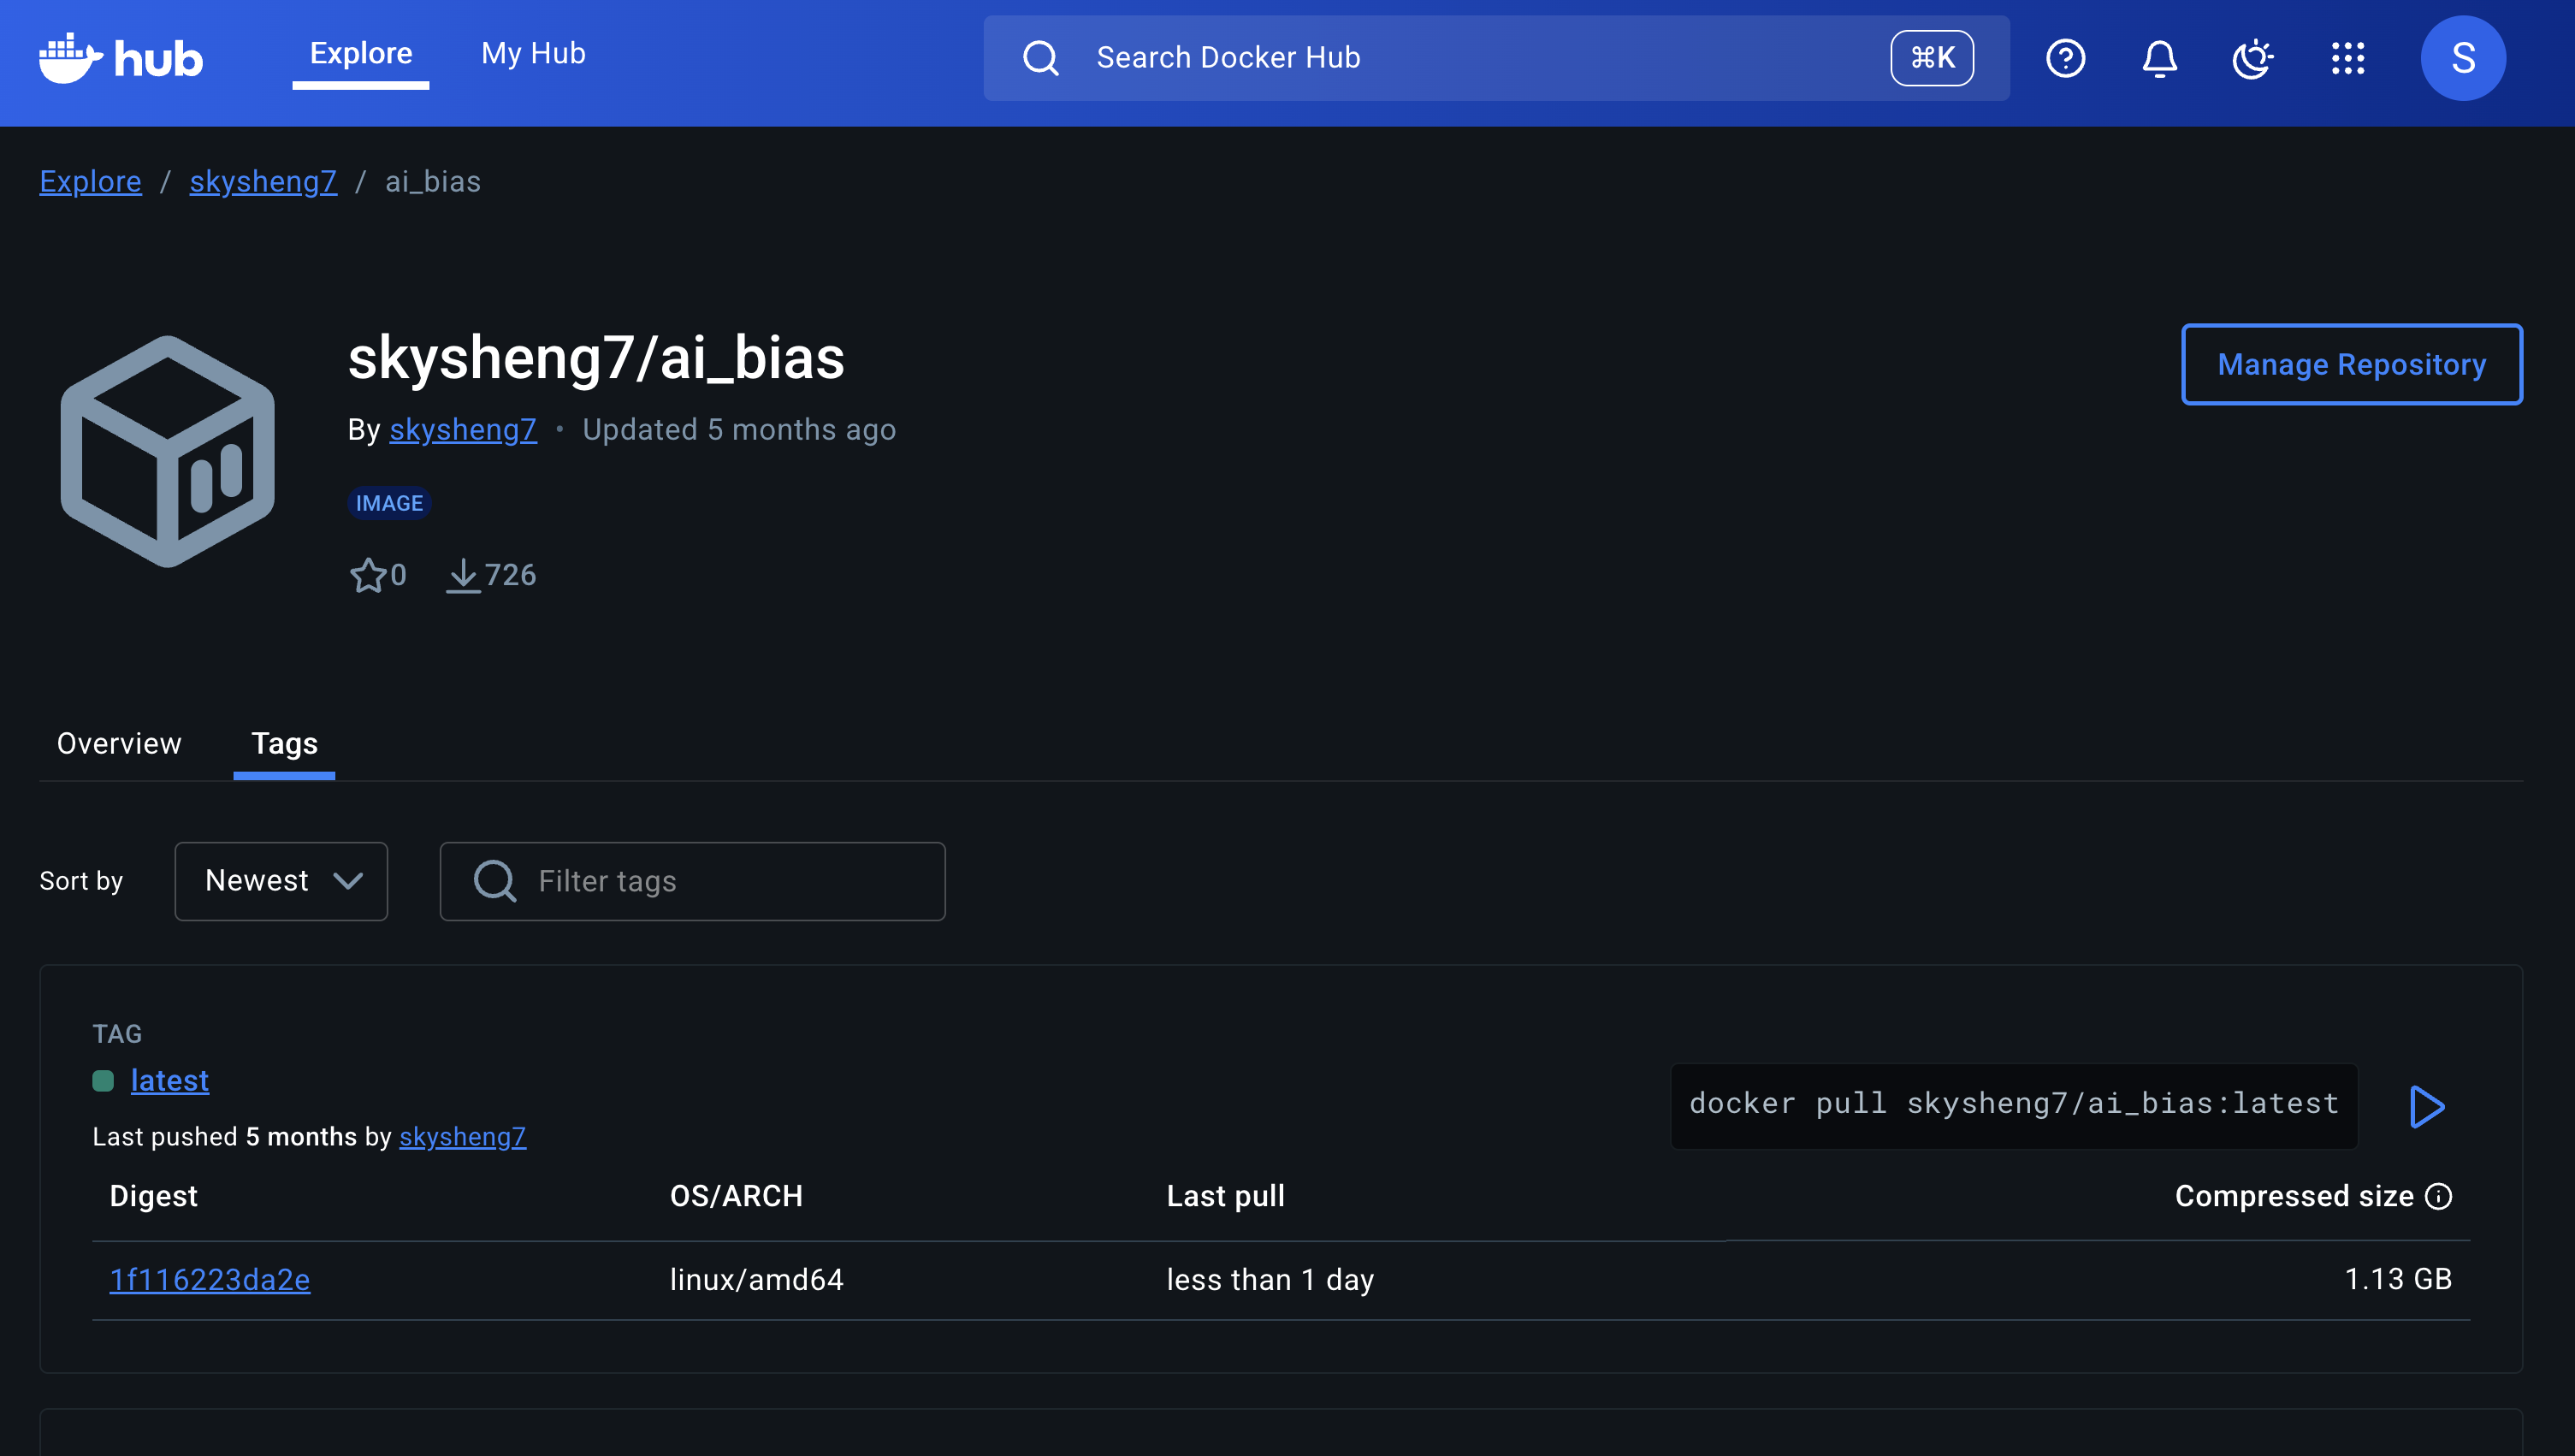
Recap: Docker image on Docker Hub, then what?? 🤷♀️
- Check out this docker image for AI bias work
Next steps after Docker image on DockerHub
Next steps after Docker image on DockerHub
- To access the docker image using Docker Compose:
- Create a
docker-compose.ymlfile docker compose updocker compose rm
- Update your documentation (README, CONTRIBUTING, etc.) about how others should use your docker image.
🤩 Let’s organize our complete workflow!
🔧 Local Development
conda create&conda install- Create
environment.yml - Add version numbers
- Generate
conda-lockfile - Write
Dockerfile - Create
docker-compose.yml - Push to GitHub
☁️ CI/CD & Deployment
- Add GitHub Actions workflow yml file
- Add Docker Hub Personal Access Token (PAT)
- Configure GitHub Secrets
- Workflow runs (auto/manual)
- Check Docker Hub for new image
- Locally,
docker pullnew image - Locally, command line
docker run
🐳 New GitHub Actions Workflow yml file
- Check out this new GitHub Actions workflow yml file Tiffany created
- Now you can replace steps 13 + 14 to:
git pulllocally to extract updateddocker-compose.ymlfile - run
docker compose uplocally to start the container - run
docker compose rmlocally to stop the container
Let’s breakdown the GitHub Action workflow!
- Inspect a workflow output
🙋♀️ What is && \ in Dockerfile?
# build on top of template of minimal notebook
FROM quay.io/jupyter/minimal-notebook:afe30f0c9ad8

# copy all conda environment dependencies
COPY conda-linux-64.lock /tmp/conda-linux-64.lock

# copy my local python package files to pip install in docker
COPY pyproject.toml /tmp/pyproject.toml
COPY src /tmp/src
COPY README.md /tmp/README.md

# conda install all the other packages
RUN mamba update --quiet --file /tmp/conda-linux-64.lock \
    && mamba clean --all -y -f \
    && fix-permissions "${CONDA_DIR}" \
    && fix-permissions "/home/${NB_USER}"

# install openai using pip because the openai package insatlled from conda has bug
# also install my local AI_representation_bias_in_farming as a python package
# 2025-06-22: added gpt-image-1 to the list of models
RUN pip install openai==1.57.0 \
    && python -m pip install -e /tmp
Today: Data Validation!
Image generated by OpenAI GPT-5
Remember this roast my repo? 🔥


Data validation in action
Check out this data cleaning script I created for the Moo4Feed R package
✅ Data validation checklist
- Group Milestone 2: Make sure you check all the boxes!
💻 Let’s work with Pandera!

Image generated by OpenAI GPT-5
💬 Discuss with your group: How will you conduct data validation for your data to check all the boxes?
- ✅ Data validation checklist
